

How do I set up a monitor?
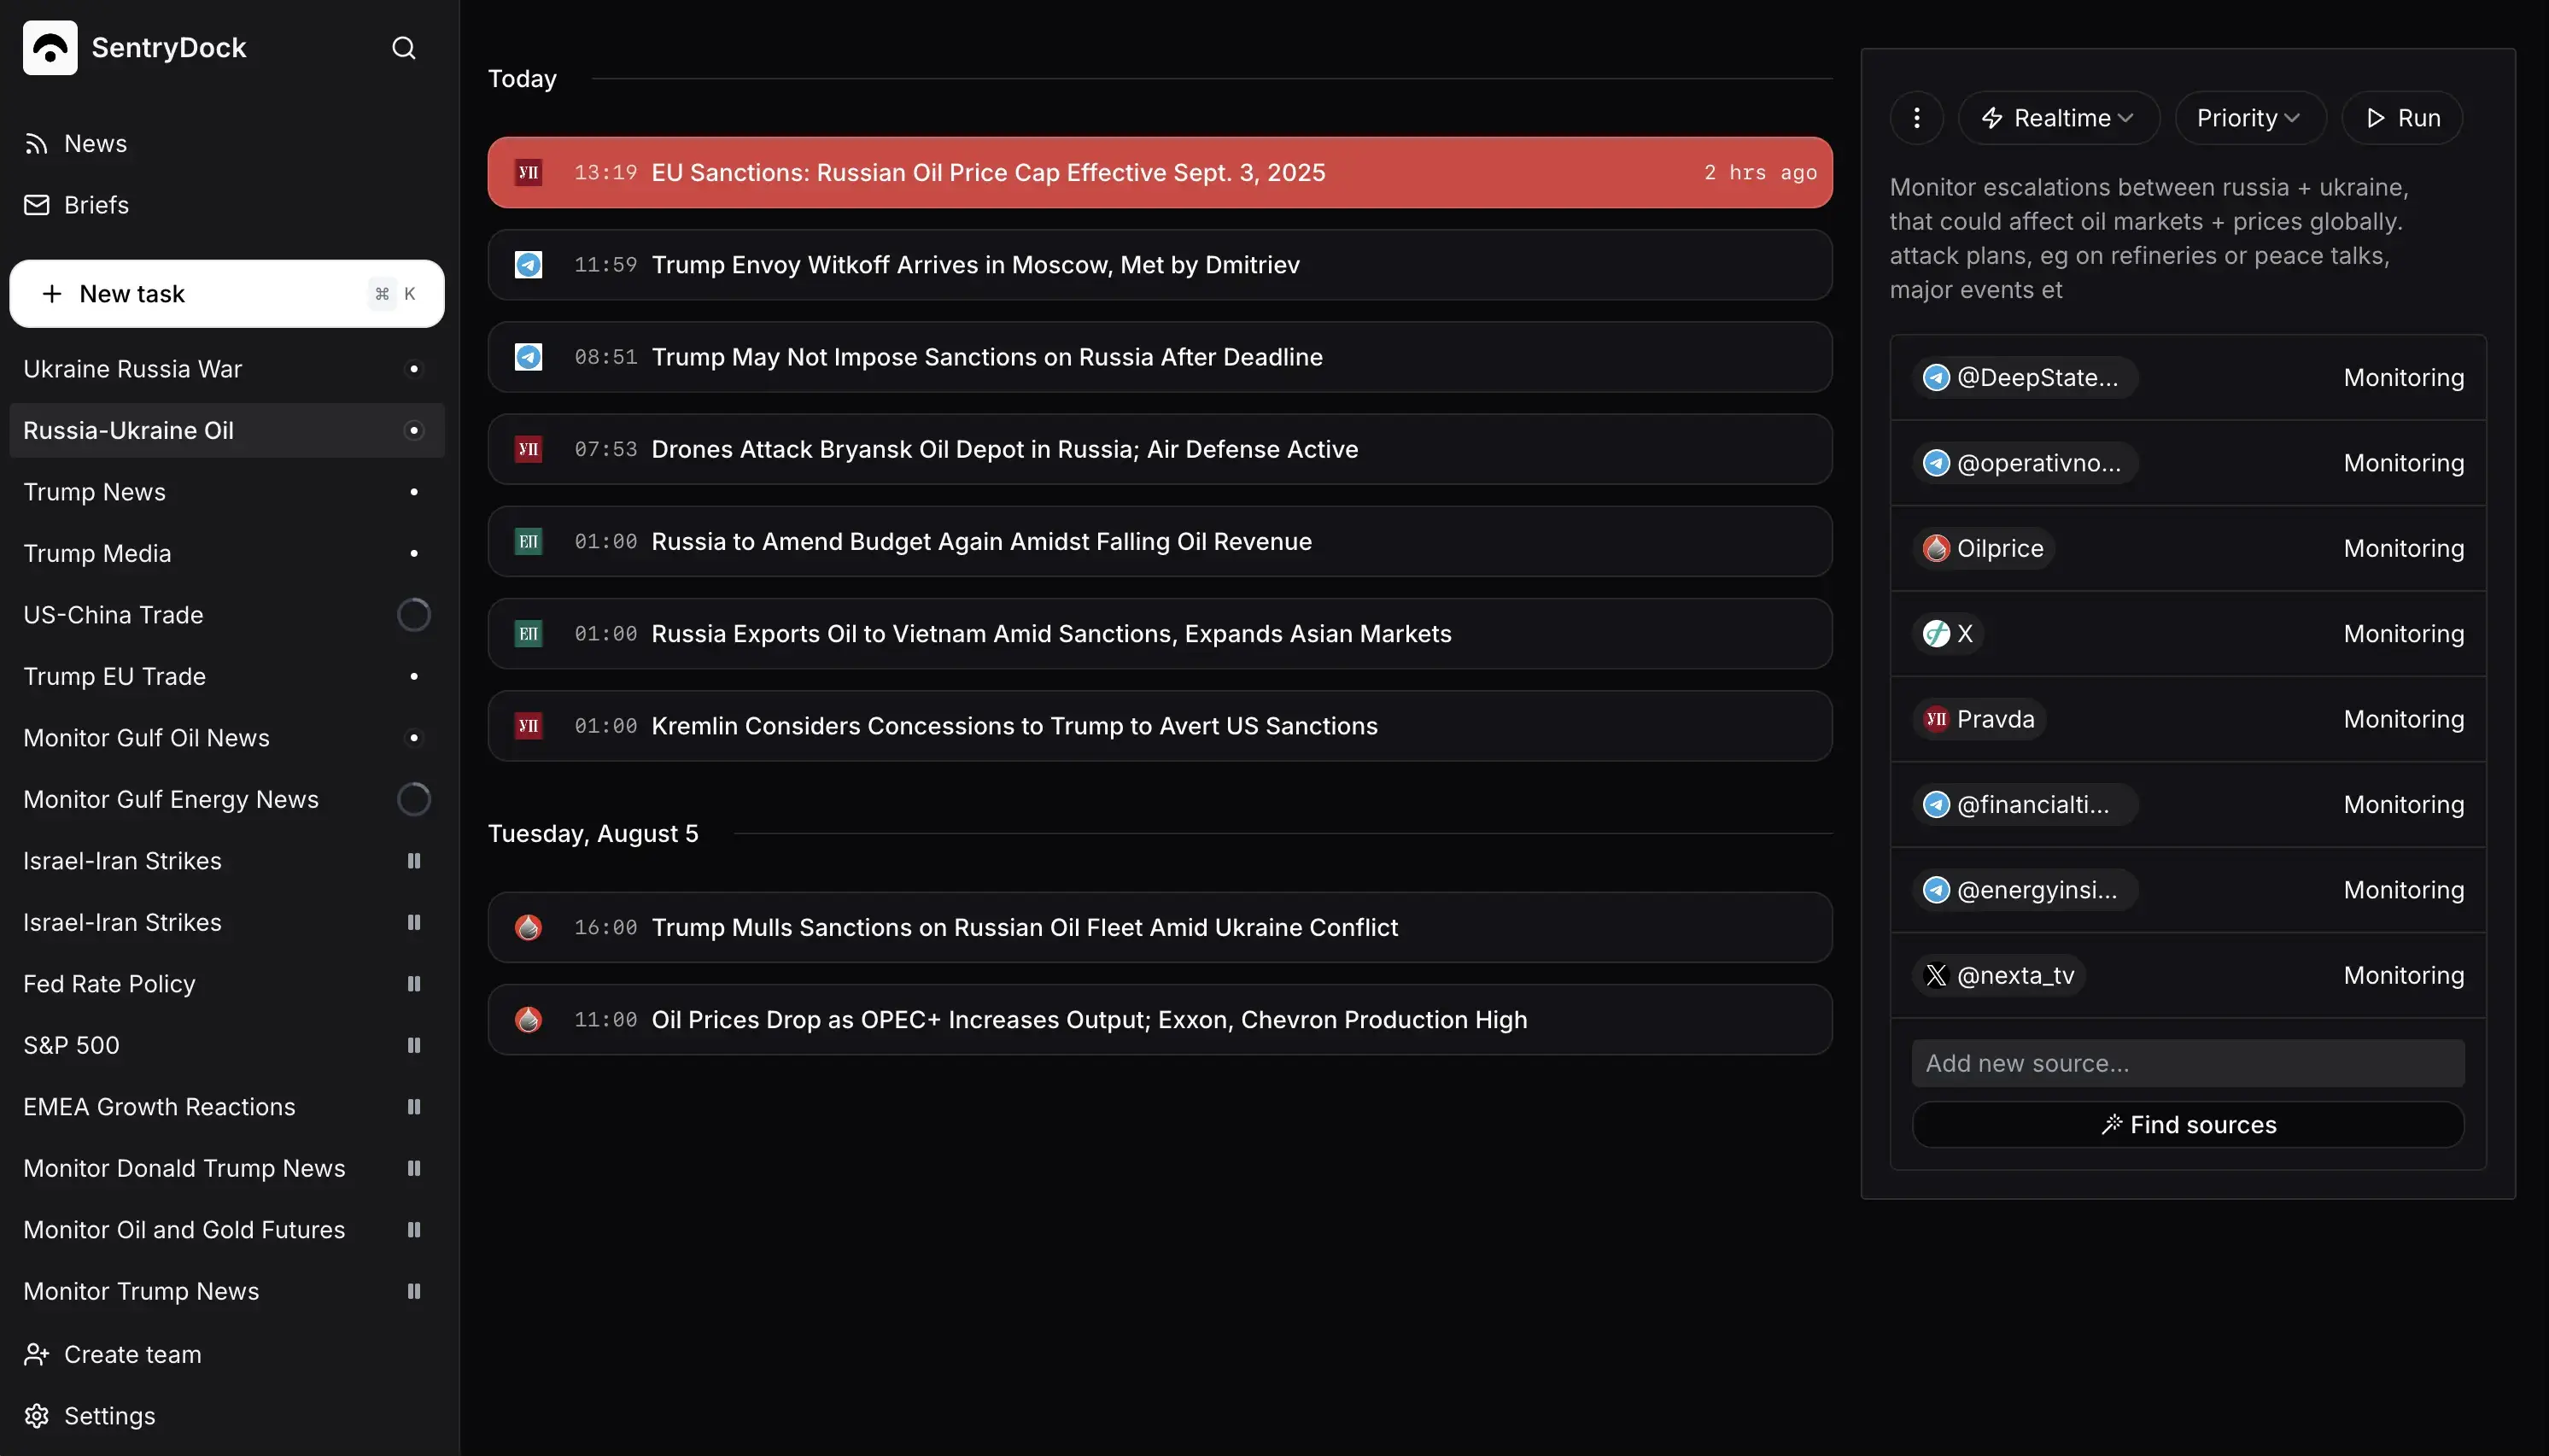
Start with the decision or situation you want to follow, not a long list of broad keywords. A focused instruction gives the relevance filter a clearer job and usually produces fewer, better alerts.
Every plan includes unlimited hourly and daily monitors. Realtime monitors are limited by plan: Starter includes 1, Pro includes 3, Ultra includes 10. Use realtime only for subjects that genuinely need alerts within seconds.
Prefer “Alert me to production outages, permit changes or labour disruption affecting these three copper mines” over “copper news”.
To create a monitor:
- Sign in and choose the option to create a new monitor.
- Describe the topic and what should count as a meaningful update. Include useful entities, locations or events, plus anything that should be excluded.
- Review the suggested sources. Keep the useful ones, remove irrelevant ones and add any public URLs or supported social sources you already trust.
- Choose a realtime, hourly or daily schedule that matches how quickly the subject changes and the limits of your plan.
- Select the available alert destinations, save the monitor and review its first results.
Write a useful monitoring instruction
Name the entities, places and event types that matter, and say what should be ignored. After the first run, open the original sources and check the results. Tighten the instruction if you see noise, add missing sources, or reduce the cadence if the topic does not need immediate checks.
Before relying on a monitor
- Confirm that each important source is public and can be accessed without your private login.
- Send a test notification when the destination supports it.
- Treat summaries and predictions as analysis; verify material facts in the linked original.